


How To Clean a Dryer Vent in 6 Simple Steps
How to Prepare Your Dryer Vent Cleaning
Before getting your hands all full of lent, you'll need to take a few pre-cleaning dryer steps that will prepare you.
Grab your handheld or large vacuum along with a cleaning brush to help get the job done without a ton of effort. You could do the job by hand, but it will take longer, and there's a chance you won't get all the extra dirt clogging up your dryer vents.
Make sure to unplug your dryer before beginning any cleaning or maintenance tasks. You don't want a risk of electrocuting yourself by accidently hitting something in the back you didn't mean to.
None of the dryer vent components themselves should cause an electric shock but there are surrounding parts that you want to watch out for.
6 Steps to How to Clean a Dryer Vent
Although each dryer is a little different, most will connect to the outer wall of your home. You'll need to know where the dryer vent is located along with the exterior dryer vent to start.
To clean it properly, follow the six steps below and your dryer will be running like the day you bought it.
Pull the Dryer Away From the Wall
Pulling a dryer away from a wall sounds easy enough but it's not just about brute force. There's a technique to it.
You don't want to start tugging on the dryer with all your might, you want to gently pull one side a few inches and then do the same on the other side. If you turn it into a tug-of-war match, you could end up ripping the dryer duct material and need to buy a replacement.
This will also help avoid any damage to your flooring or walls and will prevent you from risking unnecessary injury.
Some models may be too heavy and need two people to edge away from the wall. Grab a neighbor, ask a friend, or call over a family member to help you feel safe while cleaning.
Disconnect Your Dryer Duct
Once the dryer is moved away from the wall you should have plenty of room to disconnect the duct from the outside wall. The duct exhaust should be directly behind your dryer and there should be a vent that connects to your home wall.
Look at your dryer duct before disconnecting it because an additional clamp may be holding it in place. This keeps it from falling off when the air rushes out of your dryer.
Some clamps have a self-securing mechanism that you can squeeze to release. You may have one clamp or two, depending on the dryer duct length. Other clamps may need a screwdriver to loosen.
With the clamp off, gently shimmy the duct until it comes off the wall and repeat the process with the connection on your dryer.
This is a great chance to inspect your dryer duct for any holes, cracks, or other signs of damage. If you have never replaced the vent, it may be time to purchase a new one. Old vents may release hot air into your laundry room, causing a lot of moisture to gather.
Vacuum Out The Interior Vent
Now that you've disconnected your dryer vent, it's time to get down and dirty with your vacuum. Turn it to full blast and start cleaning out the vent on the wall outside your home. Try to get as far as possible inside the vent hole because it's the best way to clean the dryer duct.
Learning how to unclog a dryer vent might involve a manual process. If there are larger pieces of lint or debris stuck to your vents you may need to get it with your hands.
Once you've finished with the vent leading to the outside, you want to follow the same process with the vent opening on the dryer. It won't go as deep as the other vent, but there might be a slight upward curve, which you can use your fingers to check.
It's also a good time for a dryer duct cleaning since it's already disconnected. You can either try to empty the contents out by holding one end vertically and shaking out the debris or by scrunching it up little by little as you vacuum each section.
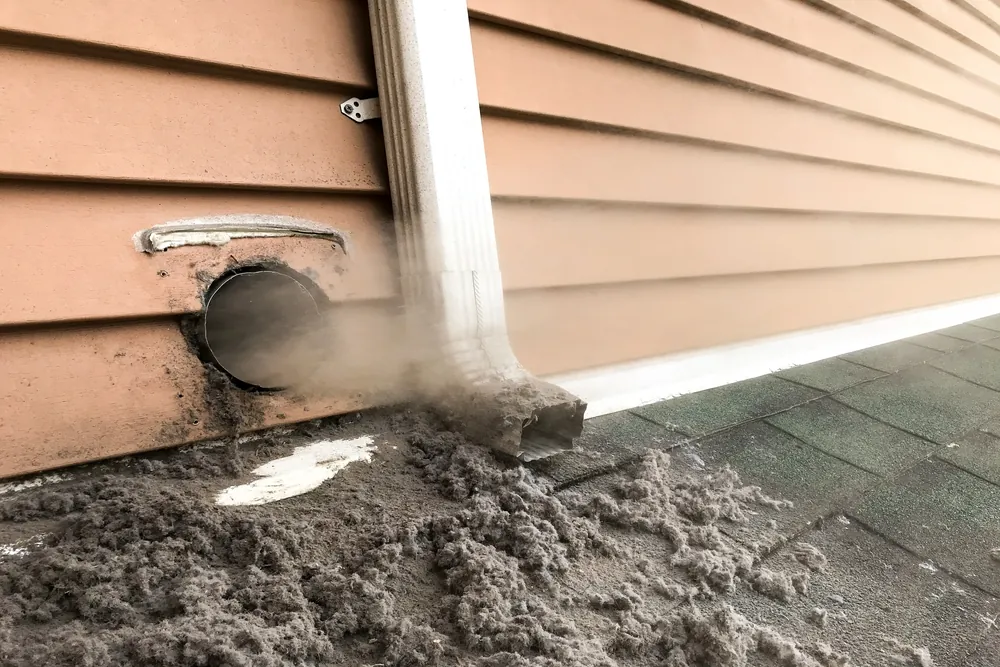
Clean Out The Exterior Vent
Even though the inside might be finished you still need to finish the job by checking the exterior vent. The same vent you clean that was connected to your home's wall leads to your home's exterior.
Walk around to the side of the home with the dryer and look for a small vent leading to the outside. It's usually a small metal piece with some vents on it that can be removed by loosening a few screws.
Take your screwdriver and remove all the screws to get access to the inside vent opening. Once you have access, check for any debris or obstructions and use your vacuum to clean it out.
Before replacing the exterior vent cover, make sure to inspect it for any damage or wear and tear. If necessary, replace it so you get great dryer ventilation. You also may want to give it a good rinse with your hose before replacing it.
Put the vent cover back on, screw it in securely, and then head back inside and tidy up your workspace to get your dryer working again.
Reconnect Your Dryer Vent
Head back to your laundry room and reconnect your dryer vent the same way you took it off. Be careful not to tug or pull on the vent material too hard while attaching it to the vent openings or it could rip.
Make sure your clamps are on the vents before reattaching them. Having everything perfect and realizing the clamps aren't even on your vents is a pain.
Once you're done, gently move your dryer back into place by edging each side until you get close to the wall. If you have space, don't smash your dryer vent right up to your wall. You'll need to give it just enough space so the lint and air can flow freely.
After everything is reconnected and you don't need to mess around in the back of the dryer, plug the power cord back into your outlet.
Run an Empty Cycle
It's time for you to test your handy work by turning on your machine and running it for a short cycle of about 10-15 minutes with nothing inside. This helps any stubborn dust or lint sticking around get blown out of your system.
If everything works, you have a newly cleaned dryer that should run just like the day you bought it. Ideally, you want to clean your dryer vents every 6-9 months but that will change depending on how often you use the machine and if you have pets or not.